I will start out with a super easy tutorial for going from
this
(482 x 346) Click the picture to enlarge
to this
Steps
Step 1
First I start of with this Prt Scr from Hong Gil-Dong Korean Drama-Yi Nok

(482 x 346) Click the picture to enlarge
Next resize the picture 50% and them resize it again 50%, to get this

Don't worry about it being too dark or anything, we'll get to that later.
Step 2
Now I take a totally blank background. I chose white, but you can take what ever colour you wish.
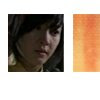
Then I choose a part of the image, i want to put on my icon. I took a piece of Yi Nok head and I positioned it on my icon like this.
Then take a texture. You can get it from colourfilter.

(800 x 600) Click the picture to enlarge
And I take a small piece of it and put it next to the picture of Yi Nok.
Right now it should look like this.
Step 3
I used this gradient by colourfilter.

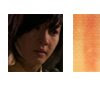
And now we are done with the colourings and stuff, so let's add some finishing touches with brushes.
Step 4
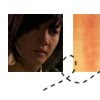
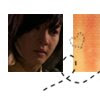
Then I make a new layer and set it to multiply 100%
I take this brush by colourfilter.


Press "Ctrl+T" to resize the brushes and rotate the brushes.
Step 5
And I am pretty much finished.
I added some text. I used the font "Kartika" "9pt" and "capital letters".
And that's it, you get this, the final product.
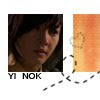
Just remember, have fun with it and be creative.
Genius

Sleeping

Yawning

Flirting


