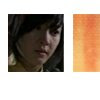
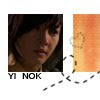
Going for this
(400x533) Click the picture to enlarge
Stock: .projekt69
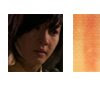
to this
What you will learn?
- selective coloring
- gradient layers
Steps 1
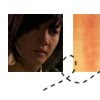
Take your image resize it. Resize the picture 50% and them resize it again 50%, to get this

Step 2
Duplicate it, set the blend mode to screen 90%.

Step 3
Make a new layer, fill it with an orange/yellow colour, for example "#f7c11d".
After that, set the layer to soft light with 60% opacity.

Step 4
Make a new color adjustment layer
Layer->New adjustment layer->selective color
set the colors like this,
RED
cyan: -100
magenta: 0
yellow: +100
black: +30
YELLOW
cyan: -100
magenta: 0
yellow: -10
black: 0
NEUTRAL
cyan: +70
magenta: -20
yellow: -70
black: 0

Step 5
Now crop it how you want to, add text/brushes/whatever and you get the result!
I added text.
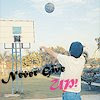 Font-"Mature MT Script Capital".
Notes-This tutorial is a guideline, do not follow it step by step.


